Automated Cleanup
By using the provided cleanup tool and batch file, you can easily set up an automated task with Windows Task Scheduler. You'll want to choose the option to "Create Task"; using "Create Basic Task" will not contain a function that allows automation to complete successfully.
General

By using the provided cleanup tool and batch file, you can easily set up an automated task with Windows Task Scheduler. You'll want to choose the option to "Create Task"; using "Create Basic Task" will not contain a function that allows automation to complete successfully.
General
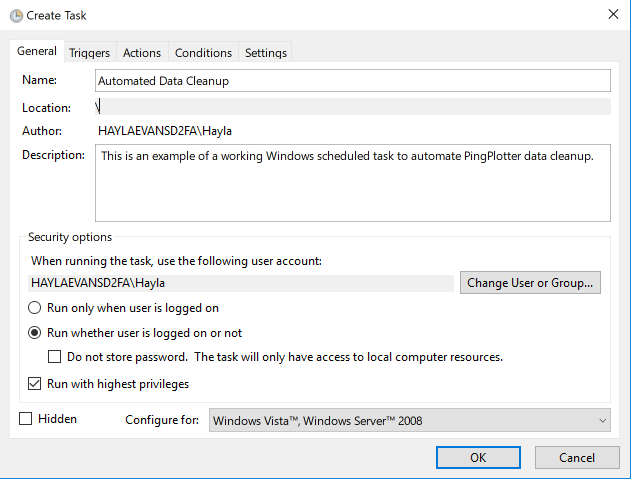
Here, you can name the task and give it a description. We've chosen to run whether the user is logged on or not; you can make your selection based off appropriate organizational protocol. It is imperative that "Run with highest privileges" is selected; the automation will not function unless this is selected.
Triggers
The task can be set to run as frequently as you'd like. We'd recommend setting a trigger to recur on a weekly or monthly basis.
The task can be set to run as frequently as you'd like. We'd recommend setting a trigger to recur on a weekly or monthly basis.
Actions
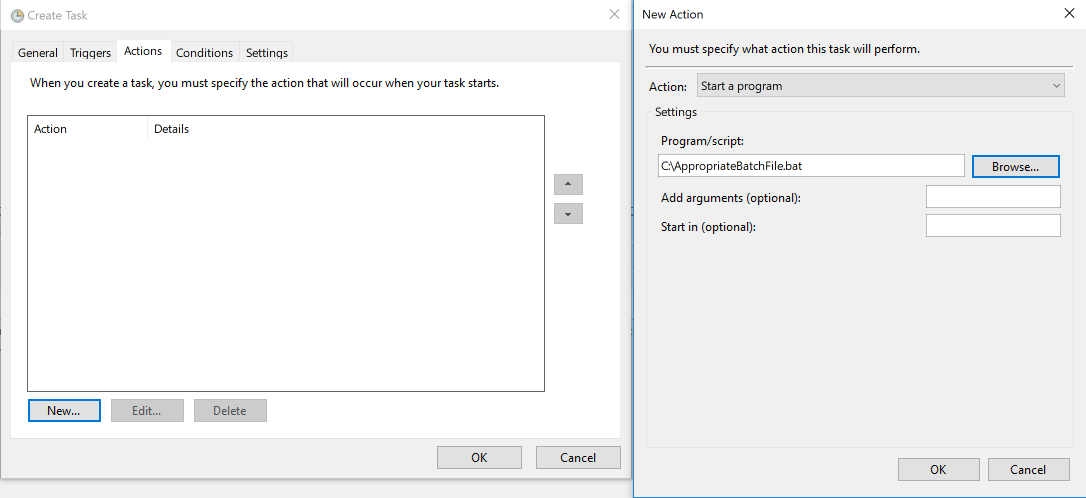
Set the action to start a program, and browse for the batch file you've downloaded and edited. Using the batch file will stop the PingPlotter Windows service (if applicable), prune the files necessary, and start the Windows Service once again; this will all be unattended, and will close upon completion.
Set the action to start a program, and browse for the batch file you've downloaded and edited. Using the batch file will stop the PingPlotter Windows service (if applicable), prune the files necessary, and start the Windows Service once again; this will all be unattended, and will close upon completion.
Conditions, Settings
For simplicity's sake, we have left these values at defaults. You're welcome to alter these values to fit your needs.
Finishing up
Once you've performed all these steps, the automation should run successfully on the schedule you've dictated. Feel free to alter settings and experiment as needed; you will always know what's best for your data and your organization. Should you find yourself in need of support, please don't hesitate to reach out to support@pingman.com and we'll gladly help however we can.